 Bellingham
 Why Birch Bay Decks Need to Be Built Differently
Birch Bay sits right on the water, and that changes what a deck has to survive year to year. Salt-laden air off the bay accelerates corrosion on anything metal, driving rain off the Strait of Georgia finds its way into every gap and seam a builder leaves unsealed, and a long, damp moss season coats north-facing boards and framing in growth that holds moisture against the wood far longer than most homeowners realize. A deck built with inland assumptions — standard hardware, minimal drainage detailing, decking laid without airflow underneath — tends to show problems within a few years out here: rust streaks bleeding from fastener heads, soft spots where water pooled, slick green film on shaded boards. None of that is inevitable. It's the result of a deck designed for a different climate than the one Birch Bay actually has.
We build decks in Bellingham and throughout Whatcom County regularly, and Birch Bay's waterfront exposure is its own case. The fixes aren't exotic — they're about choosing the right materials, detailing the framing correctly, and building in drainage and airflow from the start.
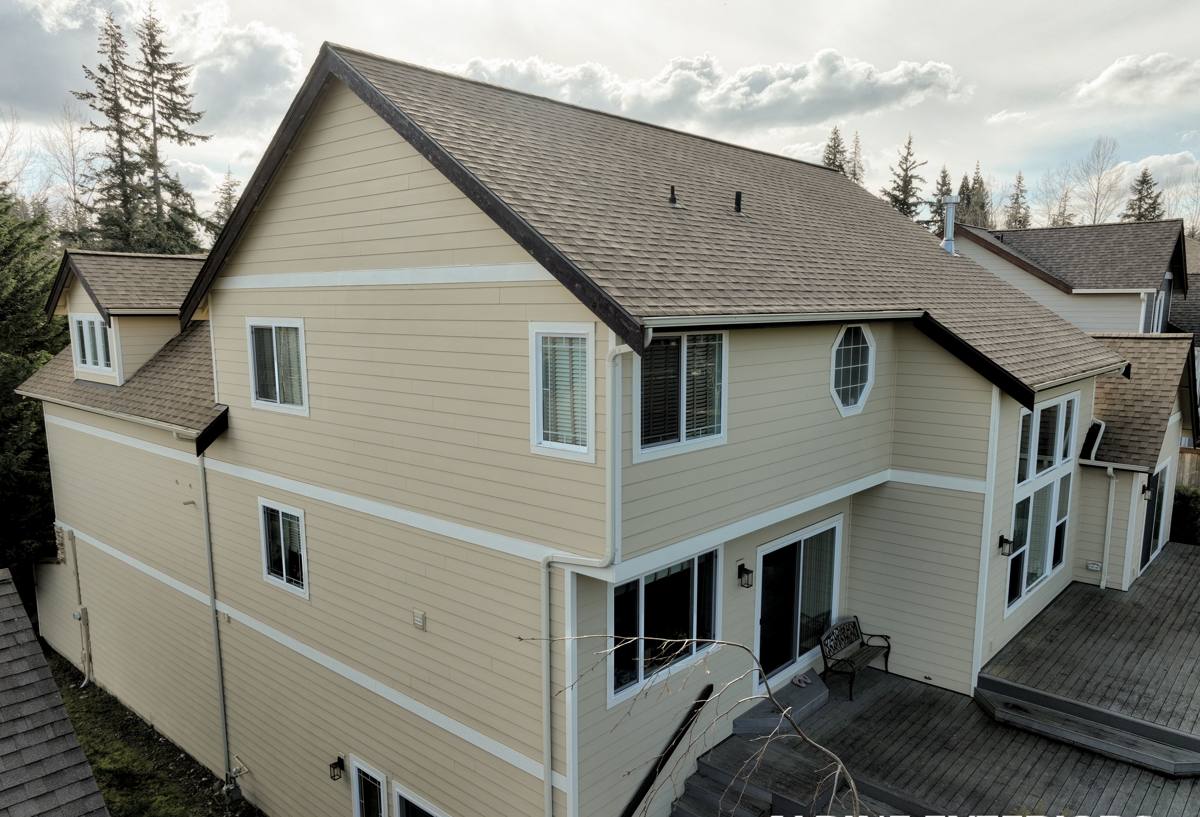
What a Birch Bay Deck Has to Handle
Before talking about materials or process, it helps to be specific about what's actually working against a deck here:
- Salt air corrosion — airborne salt accelerates rust on fasteners, brackets, and any exposed metal hardware, even well back from the water's edge
- Driving, wind-blown rain — rain here doesn't just fall straight down; wind pushes it sideways into ledger connections, board end grain, and any gap in flashing
- Extended damp season — long stretches of overcast, moist air keep wood surfaces wet longer than a drier climate would, which is exactly what wood rot and moss need to take hold
- Shaded, north-facing exposures — common on lots with tree cover or facing away from the sun, these areas dry out slowest and grow moss fastest
Every material choice and construction detail below is really just a response to one or more of these four conditions.
Choosing Decking Material for a Salt-Air, High-Moisture Site
There's no single "correct" decking material for every project — it depends on budget, how much upkeep you want to do, and how exposed the site is. Here's how the common options actually perform under Birch Bay conditions:
| Material | Upfront Cost | Maintenance Needed | Performance in Salt Air / Damp Shade | Typical Lifespan |
|---|---|---|---|---|
| Pressure-treated pine | Lowest | Annual cleaning and re-sealing recommended | Adequate if sealed and maintained; moss and staining show fastest without upkeep | 10–15 years |
| Cedar | Moderate | Periodic cleaning, oil or stain every 1–3 years | Naturally rot-resistant, but still needs sealing near the water and in shaded spots | 15–20 years |
| Capped composite | Highest | Occasional washing, no sealing or staining | Strong resistance to moisture, staining, and moss buildup; doesn't absorb water the way wood does | 25–30+ years |
Composite carries a higher sticker price, and we're upfront about that — it's not the right call for every budget or every homeowner. But on a shaded, waterfront-adjacent lot where a homeowner doesn't want to be re-staining a deck every other year, the reduced maintenance burden often makes up the cost difference over the life of the deck. Where a client wants a wood deck instead, cedar is generally the better starting point than treated pine for exposed Birch Bay sites, simply because it handles damp exposure with less babying.
What We Steer Away From, and Why
We're cautious about uncapped composite and lower-grade treated lumber for full-exposure waterfront decks — not because they're bad products everywhere, but because uncapped edges absorb moisture and can swell or discolor faster in this kind of sustained damp exposure, and lower-grade treated stock varies more in density and how evenly it takes sealant. These are trade-off calls based on how the material behaves in this specific climate, not a knock on any manufacturer.
Framing, Fasteners, and Hardware: The Part That Fails First
Most deck failures don't start in the decking boards — they start underneath, in the framing and hardware, because that's what's hardest to inspect and easiest to under-spec. In a salt-air environment this matters more than usual:
- Fasteners and structural hardware should be stainless steel or a high-grade coated fastener rated for corrosive and coastal exposure — standard galvanized hardware corrodes noticeably faster this close to salt air
- Ledger board flashing where the deck attaches to the house needs to be detailed correctly and sealed against wind-driven rain, since this is the single most common point of hidden water damage on any deck
- Joist tape or flashing over framing lumber protects the top of joists and beams from standing water and slows rot at the connection points where deck boards are fastened down
- Post bases should hold posts up off the concrete or ground rather than letting end grain sit in contact with a wet surface
None of this is visible once the deck is finished, which is exactly why it's the part most likely to get shortcut on a low-bid job — and the part most expensive to fix later once the surface decking has to come back off.
Footings, Drainage, and Grading in Birch Bay's Wet Ground
Whatcom County soils near the water tend to hold moisture, and Birch Bay's water table and drainage patterns are part of what any deck's footing design has to account for. Footings need to be sized and set to local frost depth and soil-bearing requirements, and the ground around and under the deck needs somewhere for water to go — pooling water under a low deck is one of the most reliable ways to shorten its life, since it keeps the underside of the frame damp long after a storm has passed.
For decks built low to the ground, we pay particular attention to grading and drainage beneath the structure, and to leaving enough clearance and airflow underneath so the frame can actually dry out between rain events instead of staying damp continuously through the wet months.
Our Deck Building Process
The process is straightforward, but the order matters:
- On-site assessment — we look at sun exposure, wind direction, drainage, existing structure (if replacing a deck), and how the space will actually be used
- Design and material selection — sizing, layout, railing style, and a material recommendation based on exposure and budget, not a one-size answer
- Permitting — pulling any required permits through the appropriate local jurisdiction before work begins
- Demolition (if replacing an old deck) — including a check of the ledger connection and any hidden rot in the house framing behind it
- Footings and framing — set to local code and detailed with the flashing, fasteners, and drainage considerations above
- Decking, railings, and finish work — installed with attention to fastener spacing and airflow, not just visual fit
- Final walkthrough — going over care and maintenance expectations specific to the material chosen
Maintenance a Birch Bay Deck Actually Needs
Even a well-built deck needs some seasonal attention out here — the goal is catching small issues before the wet season turns them into expensive ones:
- Sweep debris and standing leaves off the deck surface regularly, especially in shaded corners where moisture lingers
- Check for moss growth each fall and clean it off before it spreads under boards and along railings
- Inspect fastener heads and visible hardware once a year for early rust or corrosion
- Re-seal or re-stain wood decking on the schedule appropriate to the material — don't wait until it looks obviously weathered
- Confirm gaps between boards stay clear so water can drain through rather than sitting on the surface
- Check the ledger flashing area where the deck meets the house for any signs of water staining
Why Hire a Crew That Already Works in Birch Bay
A deck built to a generic inland spec will usually still stand for a few years in Birch Bay — the problems show up later, in the form of corroding hardware, soft framing, and moss that keeps coming back no matter how often it's cleaned. A crew that already builds along this stretch of Whatcom County knows to spec the hardware differently, detail the flashing more carefully, and think about drainage and airflow from the design stage rather than as an afterthought. That familiarity with local conditions is what separates a deck that needs real attention again in five years from one that's still solid in twenty.
If you're planning a new deck or replacing an aging one in Birch Bay, we're happy to come take a look and talk through what your specific site needs. There's no pressure and no obligation — just a straightforward estimate based on your home, your exposure, and your budget. The request form below is the easiest way to get started.