 Bellingham
 New-Construction Windows Are a Different Job Than Replacement Windows
New-construction windows go in before the siding does, while the house is still open to the weather-resistive barrier (WRB) and framing. That timing changes everything about how the job has to be done. A replacement window gets set into an existing opening and sealed around the outside trim. A new-construction window has a nailing fin that gets integrated directly into the building's water management system — the sill pan, the WRB, the flashing tape, and eventually the siding all have to work together as one continuous drainage plane. Get that sequence wrong and the mistake gets buried behind the siding for the life of the house.
For Birch Bay, that sequencing matters more than it would in a drier inland location. This is a job we do with the framing crew and the siding crew in mind, not in isolation.
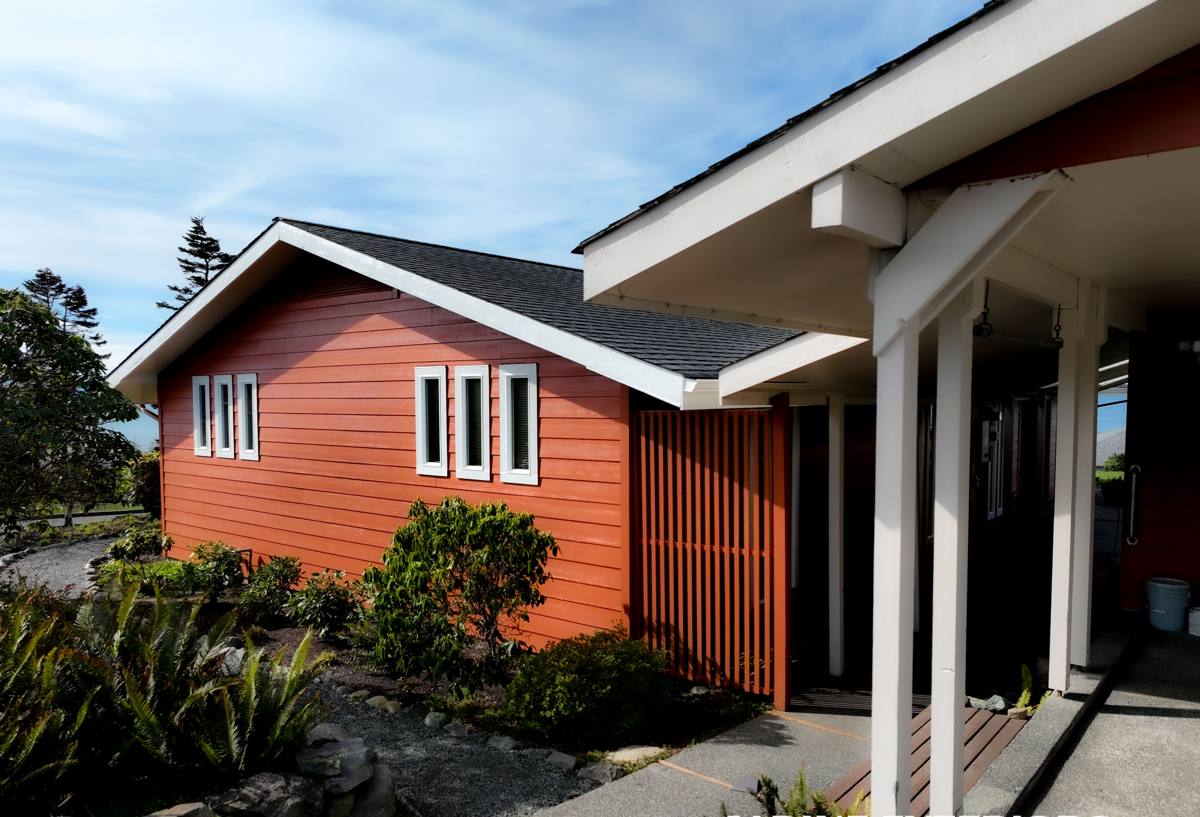
What Birch Bay's Climate Asks of a Window Install
Birch Bay sits right on the water in Whatcom County, and that exposure shows up in three ways that matter for window installation: salt-laden air, wind-driven rain, and a long moss and mildew season that runs most of the year in Western Washington. None of these are dramatic, once-a-decade events — they're steady, year-round conditions that wear on hardware, sealants, and finishes faster than they would twenty or thirty miles inland.
Salt Air
Airborne salt accelerates corrosion on fasteners, hinges, and cladding — especially on homes with direct water exposure or frequent onshore wind. We pay attention to fastener and hardware specification for these builds rather than defaulting to whatever's standard for an inland job.
Driving Rain
Wind-driven rain doesn't just fall — it gets pushed sideways and upward against the building envelope, which is exactly the condition that exposes a poorly lapped WRB or a sill pan without a back dam. Homes on more exposed lots, especially anything facing open water or prevailing weather, need the flashing details done correctly the first time, because there's no easy way to inspect them again once the siding is on.
Moss and Sustained Moisture
Long stretches of damp, mild weather keep moss and algae active nearly year-round here. That's mostly a siding and roofing concern, but it also means any trim or sill detail around a window needs to shed water cleanly and not create a spot where organic growth and trapped moisture can sit against the frame.
What a Correct New-Construction Window Install Actually Involves
This is the part that's invisible once the house is finished — which is exactly why it has to be right the first time.
Sill Pan Flashing
Every rough opening should get a sloped sill pan with a back dam before the window ever goes in. This is the single most important detail in the whole install: if water gets past the window (and eventually, some always does), the sill pan is what carries it back outside instead of into the wall framing.
WRB and Flashing Sequence
Flashing tape and the weather-resistive barrier have to be lapped in the correct shingle-style order — bottom to top, sides before the head — so water draining down the wall is always directed over the top of the layer below it, never trapped behind it. This is a sequencing detail, not a materials detail, and it's the step most often rushed on a tight build schedule.
Nailing Fin Installation
The window's nailing fin gets set into the flashing system and fastened per the manufacturer's schedule — correct fastener spacing, correct fastener type, and no over-driving that can bow the frame out of square. A window that's slightly racked in the opening won't operate correctly and puts uneven stress on the seals for as long as it's in the house.
Head Flashing and Drainage Gap
A head flashing with a drip cap directs water away from the top of the window rather than letting it run down the face of the frame. Where the siding assembly calls for a drainage gap behind the cladding, that gap needs to stay clear and connected so any incidental moisture has somewhere to go.
Choosing Windows for a Birch Bay New Build
Frame material and glass package both affect how a window holds up in a marine environment. There's no single right answer for every project — it depends on budget, exposure, and how the rest of the exterior is being finished — but here's how the common options compare for this specific climate.
| Frame Material | Coastal Performance | Maintenance | Typical Trade-Off |
|---|---|---|---|
| Vinyl | Good — won't corrode or rot, handles moisture well | Low | Less rigid over very large spans; color options more limited |
| Fiberglass | Very good — dimensionally stable, resists warping in temperature swings | Low | Higher upfront cost than vinyl |
| Wood or Wood-Clad | Fair to good depending on cladding — the wood core needs the cladding and finish to stay intact | Higher — finish and seals need periodic attention | Best look for some architectural styles, but more upkeep near salt air |
| Aluminum | Fair — conducts heat and cold, and bare aluminum is more prone to corrosion near salt air without a quality finish | Moderate | Slim sightlines, but not our default recommendation for this exposure |
On glass, a good Low-E coating and an argon-filled double or triple pane are standard for this region regardless of frame material — the coating manages solar heat gain and the sealed gas fill improves the U-factor. For homes with direct exposure to open water or heavy wind-loading, we also talk through impact-resistance ratings and hardware grade with the homeowner or builder before ordering, since that's a decision better made before the windows are on order than after.
Our Process for a New-Construction Job
- Plan review — we go over the window schedule against the framing plans before anything ships, catching sizing or opening issues early.
- Rough opening check — every opening gets verified for square, level, and correct dimension before the crew sets a single window.
- Sill pan and flashing install — sloped sill pans and shingle-lapped flashing go in per manufacturer instructions and current best practice for the wall assembly being used.
- Window set and fastening — units go in plumb, level, and square, fastened to the manufacturer's schedule, with shims used correctly rather than over-relying on the fasteners to hold the frame true.
- Head flashing and WRB tie-in — the top of the opening is flashed and integrated back into the house wrap so the whole envelope reads as one connected system.
- Final check — every window gets operated, checked for square, and inspected before we sign off, ahead of the siding crew moving in behind us.
Coordinating With Your Builder or General Contractor
New-construction window installation is a scheduling job as much as a hands-on one. We work directly with the framing and siding crews so the WRB, flashing, and window install happen in the right order without gaps in coverage — a house sitting open to the weather between trades is when problems tend to start. On a Whatcom County build, weather windows can be tighter than people expect, so we try to keep window installation moving as soon as the framing and WRB are ready rather than letting it become the bottleneck.
Mistakes We Watch For
Most window problems in new construction trace back to a handful of repeatable errors. On every job, we're specifically checking for:
- Missing or flat (non-sloped) sill pans instead of a proper drainage slope with a back dam
- Flashing tape lapped in the wrong order, directing water behind the WRB instead of over it
- Fasteners over-driven or under-driven, racking the frame out of square
- Gaps left in the WRB-to-window tie-in where siding will later hide the defect
- Wrong glass package or frame material specified for the home's actual sun and wind exposure
- Windows set before the rough opening was verified for level and square
What This Costs
New-construction window installation is typically priced per opening and depends on window size, frame material, glass package, and how many units are on the job. Broad, honest ranges only — every build is different, and the real number depends on your window schedule and site conditions.
| Factor | Why It Moves the Price |
|---|---|
| Frame material | Vinyl is generally the most budget-friendly; fiberglass and wood-clad cost more upfront |
| Glass package | Impact-rated or upgraded Low-E glass adds cost per unit |
| Number and size of openings | Larger openings and more units increase labor and material time |
| Wall assembly complexity | Detailed flashing around bays, corners, or unusual framing takes more time to do correctly |
| Site access and staging | Coastal lots with tighter access can add setup and material handling time |
Why Hiring a Crew That Already Works Birch Bay Matters
Flashing and sealing details that work fine on a sheltered inland lot in Bellingham proper don't always hold up the same way on a Birch Bay property facing open water and steady wind-driven rain. A crew that regularly works this stretch of coastline already knows which details need extra attention — back dam height on sill pans, fastener choice near salt air, how much drainage capacity a wall assembly actually needs — because they've seen how homes here weather over time, not just how they look on install day. That local pattern recognition is hard to substitute for on a one-off job.
If you're framing a new build or working with a builder in Birch Bay, we're glad to walk through your window schedule and talk about what makes sense for your site's exposure. Reach out for a free, no-pressure estimate using the form below.