 Bellingham
 Siding Built for Life Near Puget Sound
Homes in the Puget area carry a specific kind of exposure. You're close enough to the water to catch salt-laden air, open enough to prevailing storms to take driving rain straight into the wall, and shaded enough in the wet months to grow moss on anything that holds moisture. Siding installed here doesn't get judged on how it looks the day it goes up. It gets judged five, ten, twenty years later, after hundreds of soaking-wet winters have had their say. That's the standard we install to.
This page is about one job in one place: installing siding correctly on a Puget-area home, given what this specific stretch of Whatcom County throws at a house. If you're comparing bids or just trying to understand what "correct" actually means before you sign anything, this is the practical version.
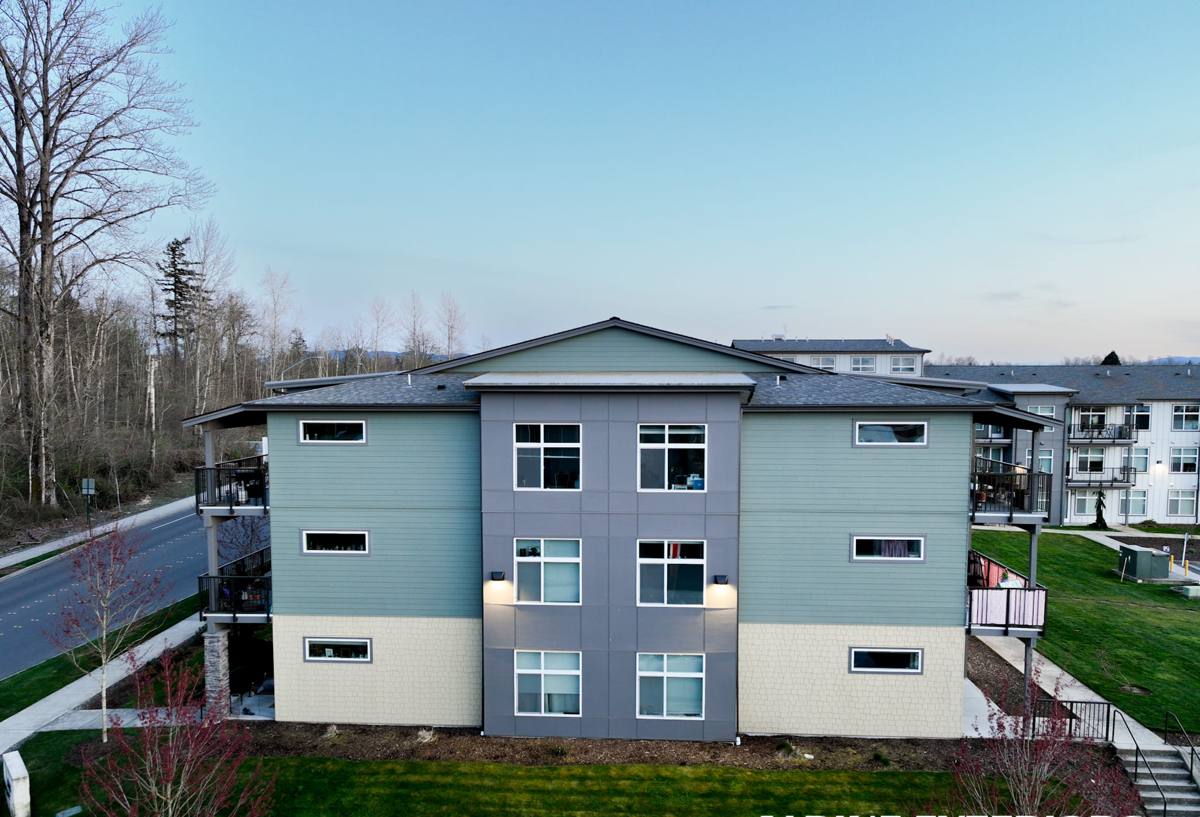
What This Climate Actually Does to Siding
Salt Air
Airborne salt from Puget Sound doesn't just sit on the surface — it works its way into fasteners, trim joints, and any exposed edge where two materials meet. Over time it accelerates corrosion in the wrong hardware and breaks down finishes that weren't engineered to resist it. Siding installed near the water needs fasteners and flashing rated for that exposure, not whatever happened to be on the truck.
Driving Rain
Bellingham doesn't just get rain — it gets wind-driven rain that hits siding sideways, not straight down. That matters because most siding failures aren't caused by rain landing on the face of the wall; they're caused by rain finding its way behind the siding through a gap, a bad lap, or a missing flashing detail. A wall system built for occasional light rain is a different animal than one built to shed water that's actively being pushed uphill and sideways by wind.
Moss Season
Shaded north walls, tree cover, and long stretches of damp weather add up to a moss and mildew season that runs a good chunk of the year in this part of Whatcom County. Moss holds moisture against a wall surface for extended periods, and any siding material that's even slightly porous or poorly finished will show it — staining, softening, or accelerated wear in exactly the spots that get the least sun.
Why We Install Only James Hardie Fiber Cement Here
We don't install vinyl, LP SmartSide, primed wood, cedar, or off-brand fiber cement. That's a deliberate standard, not a limited product line. In a climate defined by salt air, wind-driven rain, and extended damp shade, the material matters as much as the workmanship, and James Hardie is the one product system we've found holds up to spec without asking homeowners to accept a maintenance trade-off they weren't told about upfront.
- Non-combustible core — fiber cement doesn't feed a fire the way wood-based and some engineered products can.
- Engineered for our climate zone — Hardie's HZ product line is formulated for the moisture and freeze-thaw conditions of the Pacific Northwest, not a one-size-fits-all national spec.
- ColorPlus factory finish — baked-on, not job-site sprayed, which matters a lot when the finish is what's standing between salt air and the substrate underneath.
- Dimensionally stable — it doesn't swell, cup, or telegraph moisture movement the way wood-based sidings can after repeated wet-dry cycles.
- Backed by a real transferable warranty — on both the substrate and the factory finish, which gives homeowners recourse that some cheaper systems simply don't offer.
None of that means other products are junk. LP SmartSide and vinyl both have legitimate uses and loyal installers. But we've made a professional call: on homes exposed to this specific combination of salt, wind-driven rain, and moss, we're not willing to put our name on anything less than a fiber cement system engineered for it.
ColorPlus vs. Field-Applied Paint
| Finish Type | Applied | Typical Performance in This Climate |
|---|---|---|
| ColorPlus (factory) | Baked on in a controlled facility before install | Consistent coverage, strong adhesion, holds color against salt air and UV over the long term |
| Field-primed and painted | Applied on-site after installation, weather-dependent | Coverage and cure quality vary with conditions; more prone to early touch-up needs near the water |
What a Correct Installation Actually Involves
The siding itself is only part of the system. Most of what determines whether a Puget-area home stays dry behind its walls happens in the details most homeowners never see once the job is done.
The Water-Resistive Barrier and Flashing
Every correct install starts with a continuous weather-resistant barrier behind the siding, lapped properly from bottom to top so water is always directed outward and down. Every window, door, and penetration gets flashed — not caulked as a substitute for flashing, but actually flashed, with the barrier integrated so water that gets past the siding still has a way out.
Gapping and Fastening
James Hardie specifies exact gapping at butt joints, corners, and trim, along with a nailing pattern and fastener spec that accounts for the region's exposure. Skipping these details doesn't show up on install day — it shows up three winters later as a stained joint or a soft spot that's expensive to trace back to its source.
Starter Strips and Kick-Out Flashing
A starter strip at the base of the wall keeps the first course properly angled and sealed. Kick-out flashing at every roof-to-wall intersection directs runoff away from the wall instead of letting it pour straight down behind the siding — a detail that's easy to skip and one of the most common causes of hidden water damage we find on homes we're asked to reside.
Our Installation Process
- On-site assessment — we walk the exterior, check for existing moisture or rot, and note exposure factors specific to your lot: shade patterns, wind direction, proximity to water.
- Tear-off and substrate check — old siding comes off and we inspect the sheathing underneath before anything new goes up. Damaged sheathing gets repaired, not covered.
- Weather-resistive barrier and flashing — installed continuously, with every window, door, and penetration properly detailed before siding starts.
- Siding installation — James Hardie panels or lap siding installed to manufacturer spec: correct gapping, correct fastener pattern, correct exposure.
- Trim, caulking, and touch-up — factory-finished cut edges get sealed per spec, trim is fitted tight, and any exposed fasteners are finished properly.
- Final walkthrough — we go over the finished exterior with you before calling the job done.
Why a Crew That Already Works in Puget Matters
A siding crew that's worked other parts of the country — or even other parts of Washington that don't sit this close to the water — doesn't automatically know how to detail a wall for salt air and wind-driven rain. A crew that already works this part of Whatcom County knows which walls take the worst of the weather, which lots hold shade and moss longest, and where the previous generation of siding on homes like yours tends to fail first. That's not something you can fully compensate for with a generic install checklist. It comes from doing the work here, repeatedly, and paying attention to what actually happens to houses in this exact environment over time.
It also means fewer surprises during the job itself — knowing how local permitting works, what inspection expectations look like, and how to sequence work around the wet-season windows that define a Bellingham construction calendar.
Cost Factors for a Puget Siding Installation
Every home is different, but the same handful of factors drive most of the variation in price. Broad ranges only — an accurate number requires a look at your specific house.
| Factor | Why It Matters |
|---|---|
| Full tear-off vs. install over existing sheathing | Tear-off adds labor but allows a full inspection and repair of hidden moisture damage — important given local rain exposure |
| Home size and number of stories | More square footage and higher walls mean more material, more staging, and more labor |
| Trim and architectural detail | Homes with more corners, dormers, and window trim take longer to detail correctly |
| Existing damage | Rot or moisture damage found during tear-off needs to be repaired before new siding goes on |
| Siding profile and color | Lap siding, panel siding, and shingle-style Hardie products differ in material and labor cost |
| Site accessibility | Tight lots, slopes, or limited staging area can add time and equipment needs |
Signs Your Current Siding Is Losing the Fight
- Soft or spongy spots when you press on the siding, especially near the bottom of walls or below windows
- Persistent moss, algae, or dark staining that comes back shortly after cleaning
- Visible warping, cupping, or buckling panels
- Paint that's peeling or bubbling rather than just fading
- Gaps opening up at butt joints, corners, or trim
- A musty smell or visible staining on interior walls near exterior corners
- Caulk that's cracked, shrunk, or pulling away from joints
Maintenance After Installation
A correctly installed James Hardie system is low-maintenance, not no-maintenance. Rinsing off accumulated salt, pollen, and moss buildup once or twice a year, keeping gutters clear so water doesn't sheet down the wall face, and trimming back vegetation that shades and dampens a wall all go a long way toward getting the full lifespan out of the installation. Because the finish is factory-applied, you're not looking at a repaint cycle the way you would with field-painted siding — just periodic cleaning and an eye out for anything that looks off.
If your Puget-area home is due for new siding, or you're not sure whether what's on there now is doing its job, we're happy to take a look and walk you through what we find. Reach out for a free, no-pressure estimate — there's a form right below.