 Bellingham
 Building New in South Hill? The Windows Have to Match the Site
South Hill sits up on the hillside above downtown Bellingham, close enough to Bellingham Bay that salt-laden air is a real factor in how materials age, and high enough to catch wind-driven rain that flatter parts of the city don't see as hard. If you're framing a new home or a major addition up here, the window package you choose and how it's installed matters more than it would in a more sheltered spot. New-construction windows are not a smaller version of a replacement job — they're a different product, installed a different way, at a different stage of the build. Getting that sequence right the first time is what keeps a house dry for the next several decades.
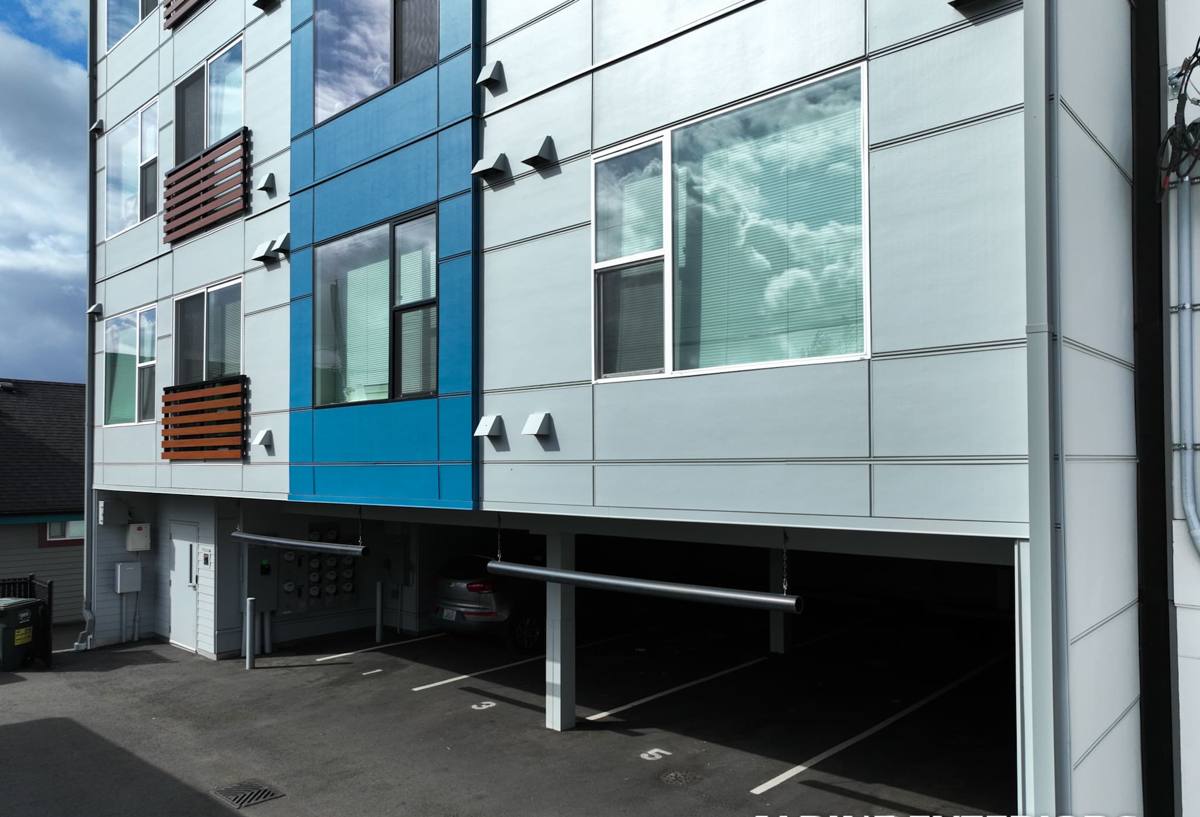
What Bellingham's Climate Actually Does to a Window Installation
Whatcom County doesn't get the dramatic storms some other parts of the country deal with, but it makes up for that with persistence. Rain here is frequent, often wind-driven, and it can come from shifting directions depending on the weather system moving through the Strait of Georgia and Bellingham Bay. On an elevated site like South Hill, that wind exposure is more direct than in a low, tree-sheltered lot downtown or in Fairhaven.
Three things compound over time on hillside builds near the water:
- Salt air corrosion — fasteners, flashing metals, and hardware finishes that aren't rated for coastal exposure can start showing corrosion years before they should.
- Driving rain intrusion — wind-pushed water finds any gap in flashing, sealant, or sill pan detailing, and on a new build that gap is usually a workmanship issue, not a product defect.
- Moss and organic growth — our long wet season means anything that stays damp — sills, trim returns, north-facing frames — grows moss and algae if it can't dry out between rains. That's a drainage and airflow problem as much as a cleaning problem.
None of this means South Hill needs exotic materials. It means ordinary materials need to be installed with the moisture management sequence done correctly, every time, with no shortcuts on the parts nobody sees once the siding goes on.
New-Construction Windows vs. Replacement: Why the Distinction Matters
A replacement window is built to fit into an existing opening, working around trim and siding that's already there. A new-construction window has a nailing flange (sometimes called a nail fin) around its perimeter, designed to be fastened directly to the sheathing before the weather-resistive barrier and siding go on. That flange is where the entire water-management strategy lives — it's what the flashing tapes and house wrap integrate with to send water down and out instead of into the wall.
Because new construction happens before the building is closed in, there's no room for guesswork. Every window opening gets:
- A sloped sill pan to direct any water that gets past the frame back outside the wall.
- Flashing tape at the sill, jambs, and head, layered in the correct shingle-lap order so water always moves downward over the next layer, never behind it.
- Proper integration with the house wrap or weather barrier, so the whole assembly works as one continuous drainage plane.
- Backer rod and sealant at the interior and exterior trim lines, sized and placed so the window can still move with temperature changes without cracking the seal.
Skip or rush any one of those steps and the window itself could be a perfectly good product that still leaks — because the failure point was never the glass or the frame, it was the sequencing around it.
Why This Is Harder to Fix Later
On a replacement job, a poorly sealed window usually shows itself within a season or two and can be pulled and redone. On new construction, a flashing mistake gets buried behind siding, trim, and sometimes insulation. It can take years of slow moisture intrusion before rot or staining shows up inside, and by then the repair involves opening up finished wall assemblies — a much bigger and more expensive job than doing it right during framing.
Choosing a Frame Material for a South Hill Site
There's no single "best" window material for every house — it depends on exposure, budget, and how the home is being finished. For a hillside, coastal-adjacent site, here's how the common options generally compare:
| Frame Material | Salt Air / Moisture Behavior | Maintenance | Typical Cost Position |
|---|---|---|---|
| Vinyl | Good corrosion resistance; won't rot, but dark colors can fade faster in strong sun exposure on south-facing walls | Low — occasional cleaning | Most affordable |
| Fiberglass | Very stable in temperature swings and moisture; holds paint and finish well over time | Low to moderate | Mid to upper range |
| Wood-Clad | Good performance if the cladding and seals stay intact; exposed wood interior needs protection from interior humidity | Higher — finish and seal upkeep matter | Highest |
| Aluminum | Can corrode in salt air over time unless properly finished; conducts more cold than other framing types | Moderate | Varies widely |
Whatever material a homeowner chooses, we install it the same disciplined way — the frame material affects longevity and upkeep, but the flashing and sealing sequence is what actually keeps water out, and that doesn't change based on brand.
Our New-Construction Window Process in South Hill
We work new-construction windows in at the point where the framing is done and the sheathing is on, but before siding starts — that's the only window in the schedule where the flashing details can be built correctly from the ground up. Our general sequence:
- Rough opening check — confirm each opening is square, plumb, and sized correctly before any window goes near it.
- Sill pan and flashing — install a sloped pan and shingle-lap the flashing tape at sill, jambs, and head in the correct order.
- Set and fasten the window — level, plumb, and fastened per the manufacturer's schedule, not "close enough."
- Weather barrier integration — tie the window flashing into the house wrap so the whole wall drains as one system.
- Interior and exterior seal — backer rod and sealant, sized for movement, at both faces of the window.
- Final check — visual inspection of every opening before siding crews close the wall up, since this is the last chance to catch a mistake without demo.
Because we've worked a number of builds on South Hill and the surrounding hillside neighborhoods, we already account for the wind exposure and rain direction typical of these lots when we sequence the flashing — details like which side of the house needs extra attention on head flashing, or where moss tends to establish on a north or west elevation that stays shaded and damp longer.
A Practical Checklist for Homeowners Managing a Build
If you're a homeowner or builder coordinating a new-construction project, here's what's worth confirming with whoever is installing the windows, regardless of who you hire:
- Is there a sloped sill pan under every window, not just a flat flashing tape?
- Is the flashing sequence shingle-lapped correctly so water sheds outward at every layer?
- Does the window flashing tie into the house wrap or weather barrier as a continuous system?
- Are fasteners and hardware rated for coastal or high-moisture exposure?
- Is there a plan for how the window sits relative to siding and trim, so water can't collect at the sill or head?
- Will someone inspect every opening before the wall gets closed in with siding?
If a contractor can't walk you through these steps clearly, that's worth a follow-up conversation before the windows go in — not after.
Why Hiring a Crew That Already Works South Hill Matters
Window installation science doesn't change from neighborhood to neighborhood, but site conditions do. A crew that's spent time on South Hill's hillside lots has already seen how wind and rain behave on elevated, more exposed sites versus a sheltered lot closer to downtown or out toward the county's flatter areas. That experience shows up in small decisions — extra attention to a particular elevation, awareness of how moss tends to establish on shaded framing before siding goes on, being deliberate about fastener choice given the bay's proximity. None of it replaces a correct installation process, but it does mean fewer surprises once the house is closed in and living through its first few Bellingham winters.
What This Means for Your Timeline and Budget
New-construction window installation typically happens on a tight window in the build schedule — after framing and sheathing, before siding starts. Delays here can push back the whole exterior schedule, so we coordinate closely with builders and general contractors to hit that sequence without holding up other trades. Costs vary based on the number and size of openings, frame material chosen, and site access on a hillside lot, so we always walk the plans and the site before giving a number rather than quoting off a floor plan alone.
If you're framing a new home or addition on South Hill and want a straightforward look at what your window package should include, we're glad to walk the plans with you and put together a free, no-pressure estimate — the form below is the easiest way to get that conversation started.