 Bellingham
 Why New-Construction Windows Are a Different Job Than Replacement
Replacing a window in an existing wall means working around what's already there. New-construction windows go in during framing, before siding, before the weather-resistive barrier is fully closed up, sometimes before the roof is even dried in. That's an advantage — there's no old caulk to dig out, no rot to discover mid-job — but it also means there's no room for a sloppy sequence. Whatever gets built into that wall at this stage stays there for the life of the house.
Working With the Framer and the Weather-Resistive Barrier
On a new build, the window crew isn't working alone. Rough openings come from the framer, the weather-resistive barrier (WRB) is usually run by whoever's doing the wrap, and the window has to integrate cleanly with both. If the rough opening is out of square, or the WRB is stapled up without the window sequence in mind, the install gets harder and the long-term performance suffers no matter how good the window itself is. Part of doing this well is showing up early enough to check that groundwork before the window ever goes in.
One Shot to Get the Flashing Right
Once siding goes on over a new-construction window, the flashing underneath is hidden for good. There's no second chance to catch a reversed lap or a missing sill pan a few years later — by the time water damage shows up, it's already inside the wall. That's the real argument for careful work at this stage: it's cheaper and easier to do it right once than to fix it after the fact.
What Whatcom County's Climate Asks of a Window Install
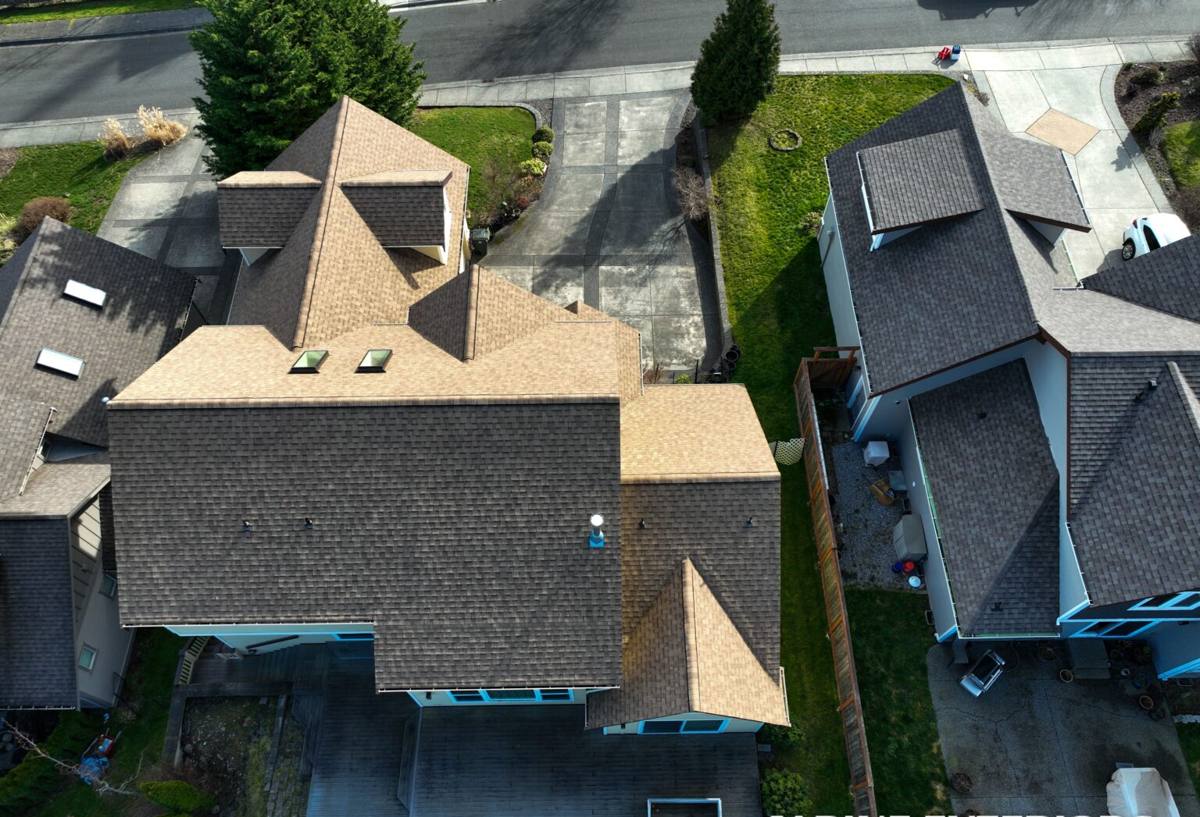
Lynden sits inland from Bellingham Bay, but it's still squarely in the same wet marine climate that defines this part of Whatcom County. Weather systems move up the Nooksack River valley and off the water, bringing long stretches of steady rain and, several times a winter, wind-driven storms that push rain sideways against the west and south walls of a house. Add in the area's shaded, tree-lined lots and low winter sun angle, and you get siding, trim, and window surrounds that can stay damp for weeks at a stretch — prime conditions for the moss and algae growth that's a fact of life on any northwest Washington exterior.
Driving Rain and Wind Exposure
Open farmland and river-valley wind exposure around Lynden means wind-driven rain isn't a rare event — it's a normal winter condition. A window that relies on sealant alone to keep water out will eventually leak under that kind of repeated pressure. The flashing and drainage details behind the window are what actually keep water managed; the sealant is a backup, not the primary defense.
The Long Moss and Damp Season
From fall through spring, exterior surfaces here often don't get a real chance to dry out between rain events. That prolonged dampness is what drives moss and mildew growth on siding and trim, and it's also what turns a small, undetected flashing gap into a slow leak instead of a one-time nuisance. Materials and details that tolerate sustained moisture — not just occasional rain — matter more here than in drier parts of the state.
The Anatomy of a Correct New-Construction Window Install
There's a specific order of operations behind a window that performs well for decades, and it doesn't change based on how nice the window is. Skipping steps in this sequence is the single most common way a good window ends up with a bad outcome.
- Rough opening checked for square, level, and correct size before the window ever arrives on site
- Sill pan flashing installed to catch and direct out any water that gets past the window, with a back dam so water can't run back into the wall
- Flashing tape or building paper applied in a shingle-lap sequence — sides over the sill pan, head flashing over the sides — so water is always directed outward and downward
- Window set plumb, level, and square in the opening, then fastened through the nailing fin per the manufacturer's schedule, not just tacked at the corners
- Shimming at load points so the frame doesn't bow or rack once trim and siding load goes on
- WRB lapped back over the top flange to complete the drainage plane before trim and siding close everything in
- Interior and exterior sealant placed as a secondary air and water seal, never as a substitute for the flashing sequence above
Choosing Window Products for a Lynden Build
There's no single "best" window material — the right choice depends on the home's design, budget, and how much upkeep the owner wants to take on. What matters more than brand is whether the frame material and installation depth suit a climate where windows spend a lot of the year wet.
| Frame Material | Moisture Tolerance | Maintenance | Typical Lifespan |
|---|---|---|---|
| Vinyl | Good — won't rot, but seals and hardware need to be installed correctly | Low | Long, with quality varying by manufacturer |
| Fiberglass | Very good — dimensionally stable in wet/dry cycling | Low | Long |
| Wood-clad | Depends heavily on cladding and flashing quality at joints | Moderate to high | Long if maintained, shorter if flashing details fail |
| Aluminum | Fair — conducts cold and can condense without thermal breaks | Low | Long, but less common in residential new builds here |
We're not tied to one brand. On a new build, our job is to make sure the window that gets chosen — whatever the material — goes in with a flashing and drainage sequence built for this climate, and that the frame depth matches the wall assembly so trim and siding tie in cleanly without improvised shims or gaps.
Our Process on a Lynden New-Construction Job
- Coordinate with the builder or GC on schedule so we're on site at the right framing stage — not so early the openings aren't finished, not so late that siding crews are waiting on us.
- Verify rough openings against the window schedule for size, square, and level before anything gets installed.
- Install sill pan flashing and WRB integration per the sequence above, tailored to whatever wrap or building paper the builder has specified.
- Set and fasten each window to manufacturer specifications, checking plumb, level, and reveal as we go.
- Photograph flashing details before they're covered by trim or siding, so there's a record of what's behind the finish surfaces.
- Walk the job with the builder before final siding closes everything in, to catch anything that needs adjustment while it's still accessible.
Mistakes We Watch For on New Builds
Most window callbacks on new construction trace back to a handful of repeat issues — usually from crews moving fast to keep pace with a framing schedule rather than any problem with the window itself.
- Flashing tape lapped in the wrong order, directing water into the wall instead of out of it
- Sill pan skipped or improvised with sealant alone, with no back dam
- Nailing fin fastened at the corners only instead of the full schedule
- WRB stapled over the nailing fin instead of lapped correctly, trapping moisture against the frame
- Sealant used as the primary water barrier instead of a backup to proper flashing
- Shimming skipped, leading to a bowed frame once siding and trim load goes on
Why a Bellingham-Based Crew That Works Lynden Regularly Matters
Lynden builders and homeowners are dealing with the same Whatcom County wind, rain, and inspection process as the rest of the county, but the pace and layout of new-construction sites out here — larger lots, more standalone builds, tighter coordination with local framers and GCs — rewards a crew that already knows how those jobs run locally. Being based in Bellingham means we're not driving in from out of the area to hit a scheduling window; we can be back on site quickly if the builder needs a walk-through, an adjustment, or a punch-list item closed out before final siding goes on. It also means our flashing and drainage details are built around the rain and wind patterns this specific corner of the state actually sees, not a generic install spec.
Permits, Inspections, and Working With Your Builder
New-construction window work is part of the broader building permit for the home, not a separate permit of its own, and it gets reviewed alongside the rest of the building envelope during Whatcom County's inspection process. Washington's energy code sets minimum performance requirements for window U-factor and area, which is typically handled at the design and window-schedule stage by the builder or designer — our part is making sure the physical installation matches what's specified and holds up to inspection. We work directly with the general contractor's schedule rather than around it, since window installation has to land at a specific point between framing and exterior finish work, not whenever it's convenient.
If you're building in Lynden and want a crew that treats window flashing as seriously as the framing itself, we're happy to walk your plans, meet your builder, and put together a straightforward estimate — no pressure, no obligation. The form below is the easiest way to get that conversation started.