 Bellingham
 New-Construction Windows in Barkley: Getting It Right the First Time
Barkley is one of the newer growth areas on Bellingham's east side, and it's seen steady residential building for years now — single-family homes, townhomes, and infill construction going in alongside the neighborhood's commercial core. When you're building new, window installation only happens once before the siding, trim, and interior finishes close everything up. There's no do-over without tearing into finished work. That makes new-construction window installation a different job than replacing an old window in an existing wall, and it deserves a crew that treats it that way.
We install windows on new builds and additions around Bellingham and Whatcom County regularly, including in Barkley. That means we already understand what the county's building department expects for inspections, how the local weather patterns behave through a build season, and what it takes to get a window opening right before the wall closes up around it.
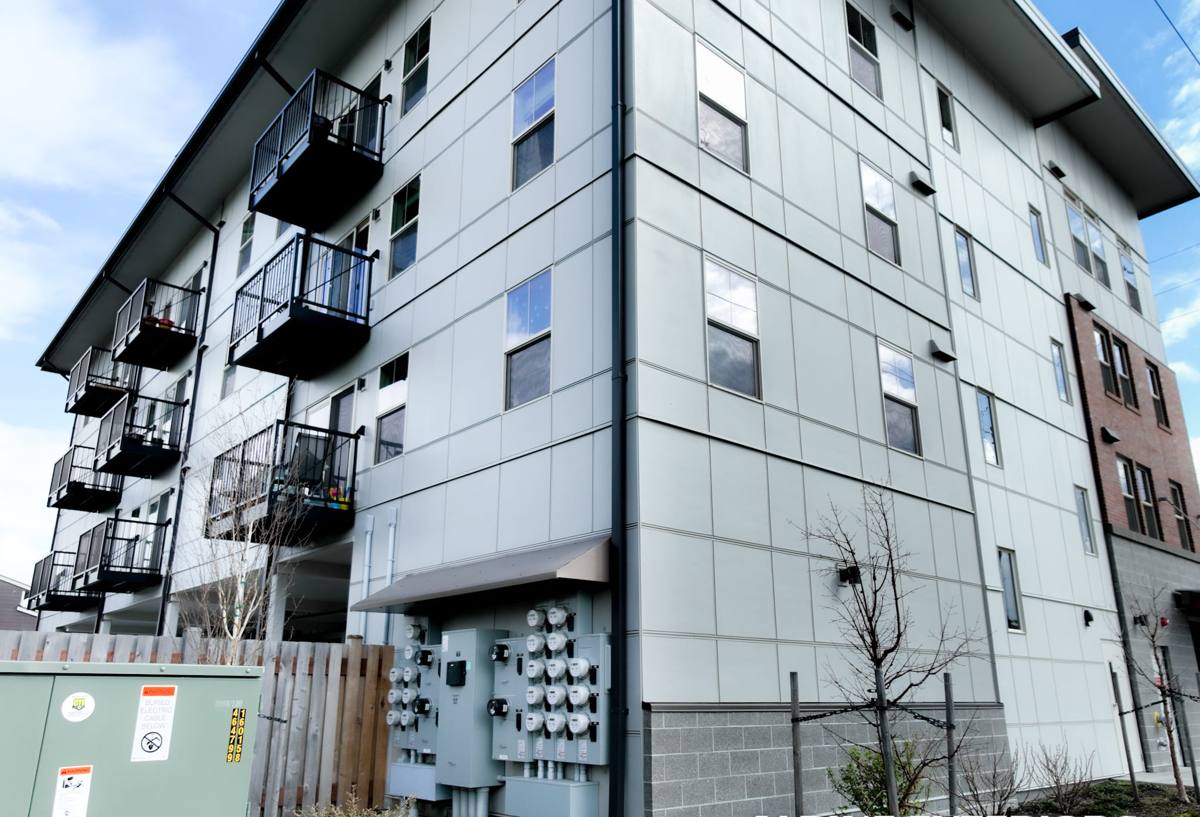
What Bellingham's Climate Asks of a New-Construction Window Install
Whatcom County sits in a marine climate with a long wet season, and homes near Bellingham Bay also deal with salt-laden air. Neither of those is dramatic on its own, but combined with our extended cloud cover and moss season, they add up to steady, low-grade pressure on a building envelope year-round. A new-construction window opening has to be built to handle that from day one, because there's no old caulk line or worn flashing to blame later — whatever gets built into the wall now is what the house lives with.
Driving rain and wind-driven moisture
Storms off the Sound don't just fall straight down — wind pushes rain sideways into wall assemblies, especially on west- and southwest-facing elevations. A window opening needs flashing and a water-resistive barrier (WRB) integration that shed water outward and downward at every layer, not just a bead of caulk around the trim.
Salt air and hardware corrosion
Proximity to the bay means airborne salt works on exposed metal — fasteners, hardware, and cladding — faster than it would further inland. Choosing corrosion-resistant fasteners and flashing metals at install time costs little extra and avoids early hardware failure.
Moss and prolonged dampness
Our wet season runs long, and anywhere moisture sits without drying — a sill that doesn't slope, a gap that traps debris — becomes a spot where moss and algae take hold. That's not just cosmetic; sustained dampness against wood trim or sheathing shortens its life.
What a Correct New-Construction Window Install Actually Involves
New-construction windows (as opposed to retrofit or pocket replacements) have a nailing fin or flange that attaches directly to the sheathing before siding goes on. That gives us full access to build the opening correctly in layers, which is the real advantage of doing this work during a build rather than after.
- Rough opening check. Confirm the opening is square, plumb, and sized correctly to the window unit's actual dimensions before it ever goes in.
- Sill pan flashing. A sloped, waterproof pan under the window sends any water that gets past the window back outside instead of into the wall cavity.
- WRB integration. The house wrap or building paper is lapped and sealed with the window flashing in the correct shingle-style order — upper layers over lower — so water always drains down and out.
- Window setting and fastening. The unit is set level and plumb, shimmed to spec, and fastened per the manufacturer's instructions to preserve the warranty and structural performance.
- Flashing tape and head flashing. Side and head flashing tie the window into the WRB and, where called for, a drip cap sheds water clear of the top of the frame.
- Air sealing and insulation. The gap between the frame and rough opening gets sealed and insulated without over-compressing the frame, which can distort operation.
- Interior and exterior trim. Trim goes on last, once the waterproofing layers underneath are confirmed complete and inspected.
Skipping or reordering any of those steps is where most new-construction window failures start — and once siding and trim are on, those mistakes are hidden until a leak shows up years later.
Choosing a Window System for This Climate
Material and frame choice matter more here than in a drier climate, because the window has to hold up to sustained moisture exposure and, depending on the lot's location within Barkley, some salt air influence. There's no single "best" answer — it's a real trade-off between upfront cost, maintenance, and how the window will perform over time.
| Frame Material | Moisture Performance | Maintenance | Typical Cost Position |
|---|---|---|---|
| Vinyl | Good — won't rot, handles damp climates well | Low — occasional cleaning | Lower |
| Fiberglass | Very good — dimensionally stable in temperature/moisture swings | Low | Mid to upper-mid |
| Wood (clad exterior) | Good exterior protection, but interior wood still needs care and any cladding breach exposes wood to rot | Higher — finish and seams need periodic checks | Upper |
| Aluminum | Durable but conducts heat/cold and can be prone to condensation without thermal breaks | Low, but check thermal break integrity | Mid |
For most new builds in this area, we steer homeowners toward vinyl or fiberglass for the balance of upfront cost and low long-term maintenance in a wet, salt-influenced climate. Wood-clad windows can look great and perform fine, but we're honest about the added upkeep — any nick or gap in the cladding needs attention quickly so moisture doesn't get behind it. That's a maintenance conversation, not a knock on the product; it's a fair trade-off some homeowners are happy to make for the look.
Glass and seal considerations
Double-pane, low-E glass with argon fill is standard for this region's heating needs. The bigger factor for longevity here isn't the glass itself — it's the seal quality around the insulated glass unit and how well the frame sheds water away from that seal over time.
Where New-Construction Window Installs Go Wrong
Most of the callbacks we see on new builds trace back to a handful of repeat issues, not exotic problems:
- Sill pan skipped or installed flat instead of sloped, so water sits instead of draining out
- WRB layers taped in the wrong order, letting water get behind the barrier instead of over it
- Window fastened before shimming was checked, leaving the frame slightly racked and hard to operate
- Flashing tape applied over dusty or damp sheathing, so it doesn't bond and fails quietly
- Exterior trim installed with no gap for water to escape, trapping moisture behind it
- Fasteners or flashing metal not rated for coastal exposure, corroding early
Every one of these is avoidable with a careful, in-order install and a builder's crew that isn't rushing to close in the wall before the next trade shows up.
How We Work With Builders and Homeowners in Barkley
On new construction, we're usually one piece of a larger build schedule, coordinating with the general contractor, framer, and siding crew. Because we already work in and around Barkley and greater Bellingham, we know the pacing of local builds and the inspection points Whatcom County typically checks along the way. We show up ready to install once the rough opening and WRB are staged correctly, and we flag problems with the opening itself before we set a window in it rather than working around them.
If you're a homeowner overseeing your own build or working with a builder who's bringing in window subs, we're glad to work directly with your general contractor's schedule, or to walk you through what to ask your builder if windows aren't broken out as a separate line item.
Before the wall closes: a homeowner's checklist
- Confirm sill pan flashing was installed and sloped, not just a bead of sealant
- Ask to see WRB integration at the window before siding goes on, if you're able to be on site
- Verify window fasteners and exterior flashing are rated for coastal/marine exposure
- Check that trim has a drainage gap at the bottom, not a fully sealed edge
- Get the manufacturer's installation instructions kept on file for warranty purposes
- Ask what inspection points the county requires before the wall is closed in
Timeline and Scheduling on New Builds
Window installation on a new build happens at a specific point in the framing schedule — after rough framing and WRB are up, before siding starts. Because that window in the schedule can shift with weather delays (not unusual given how much rain this region sees during a build season), we stay in contact with the general contractor to install as soon as the opening is ready rather than holding up the next trade. Rushing this step to keep a schedule moving is exactly how the mistakes listed above happen, so we build in enough time to do it right the first time.
Get a Free Estimate for Your Barkley Build
If you're building new or adding on in Barkley or elsewhere in Bellingham, we're happy to walk through your window plans, look at your build schedule, and give you a straightforward, no-pressure estimate for the install. Use the form below to get started.